What you need:
- Broken pieces of crayons without wrapping (the smaller the better).
- Sunshine on a hot day.
- Foil.
- Cookie cutters.
- Plate.
- Oven mitts.

Directions:
- Wrap the plate with foil.
- Create a tent-like piece of foil that covers part of the foiled plate.
- Set the cookie cutters on top of the foiled plate.
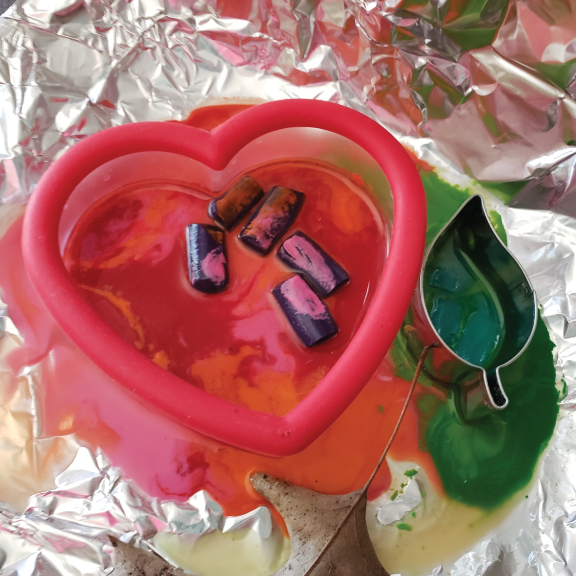
- Place the broken pieces of crayons in the cookie cutter.
- Set the plate outside in direct sunlight on a hot day.
- Check on the melting process every half hour or so.
- When the crayons look melted enough, use oven mitts to move the plate into the shade.
- Let the plate cool down.
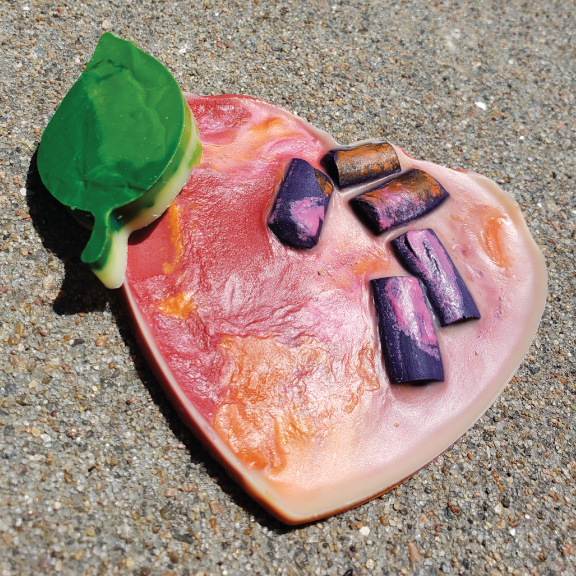
- After the plate and contents cool down, remove the newly formed crayons from the cookie cutters.
- Test out the new crayons!
Ways to Expand the Activity:
- Experiment with color mixing when setting up the activity. What happens when you mix yellow and blue crayons together? What happens when you mix the melted crayons during the melting process? (Be cautious because the plate and its contents will be hot)!
- Compare and contrast how fast different colored crayons melt. In one cookie cutter put dark crayons and the other put lighter colors. Which one melts faster?
- Create art using the sun and science! Set out a piece of paper in the direct sun and sprinkle pieces of crayon on the paper.

What Kids Learn:
- Experimentation! When kids experiment, they’re learning how to learn. Failure is an important part of experimenting, so let kids try things that won’t work. It’s how they figure things out!
- Phase transition from a solid to a liquid. When wax reaches its melting point it begins to turn into a liquid.
Vocabulary:
- Thermodynamics. A branch of science that deals with heat relating to other forms of energy.
