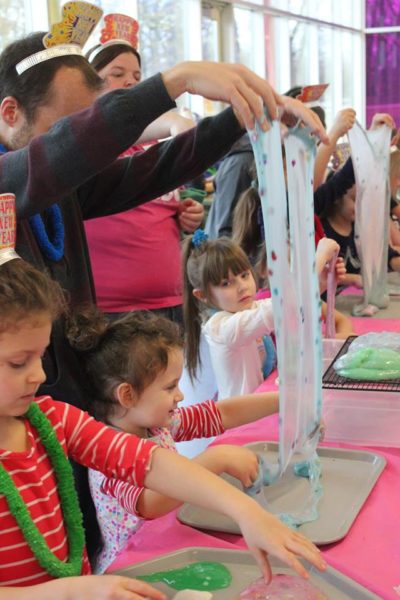
Sweetheart Slime for your Valentine
Slime: the gift that keeps on giving! Here's the slime recipe used by KCDC educators Caitlin and Nancy, who are truly slime experts!
- 2 (4 oz) bottles of washable school glue
- 1 or 2 drops liquid food coloring
- 1 teaspoon baking soda
- 2 to 3 tablespoons contact solution (saline solution)
Directions: Mix the food coloring and glue, then add baking soda and stir until smooth. Add 2 tablespoons of contact solution and stir until a ball starts to form. Pick up the slime and work it with your hands. Add more contact solution, if needed, to get to your desired level of sliminess. Put your slime in a clear zipper bag for portable slime play, or for a kids who likes slime but doesn't like to feel sticky things!

For Valentine's Day, add in a few of the following ingredients and see what happens!
- Sweetheart candies
- Glitter (pro tip: use glitter glue instead of loose glitter for less mess)
- Sequins
- Sprinkles
- Confetti
- Beads

How do kids benefit from making slime?
- They learn opposite words like gooey and solid, warm and cold, big and small, empty and full.
- They touch, squeeze, smell and feel, helping build connections in the brain.
- They see chemical reactions in action, teaching cause and effect.
- They practice using the small muscles in their hands (fine motor skills) later used for writing.
- They measure ingredients, demonstrating volume and encouraging comparisons.
- They imagine! Using symbolic thinking, they can become slime chefs, greet an alien life form, or perform slime magic!
Make a little slime for your valentine at home!